Moonlight Peaks führt Sie nicht durch ein Tutorial – es übergibt Ihnen eine Farm, einen zerbrochenen Zauberstab und einen zu Katern neigenden Vampir namens Orlock und lässt Sie dann los Hauptgeschichte Bringe dir in aller Stille alles bei. Jede Story-Quest ist in Wirklichkeit ein getarntes System: Eines schaltet Ihr Werkzeugrad frei, eines schaltet Magie frei, eines schaltet Angeln frei, eines schaltet Gestaltwandlung frei. Verfolge sie ungefähr in der Reihenfolge, in der sie ankommen, und das Spiel beginnt wie am Schnürchen.
Diese exemplarische Vorgehensweise deckt die Startversion ab, wobei die Ziele und Belohnungen jeder Quest mit dem Community-Wiki abgeglichen werden, außerdem die praktischen Abkürzungen, die Spieler gefunden haben – wie zum Beispiel die Möglichkeit, dass die Quest „Die verfluchte Brücke“ nichts statt 350 Münzen kostet.
Wie Quests hier funktionieren – keine Wegpunkte, keine feste Reihenfolge
Eines sollten Sie vorab wissen: Es gibt welche keine Questpfeile. Die Geschichte schreitet voran, wenn Sie wandern Sie in eine Zwischensequenz, ein großer Fortschritt entsteht also, wenn man einfach in einen Teil der Stadt geht, den man noch nicht besucht hat, und mit demjenigen spricht, der dort steht. Ihr Quest-Protokoll verfolgt die Ziele, sobald eine Quest live ist; Es zeigt einfach nicht den Weg auf der Karte.
Weil das Spiel Bereiche dahinter abschließt Tool-Upgrades (Sie können mit der Startaxt und der Spitzhacke kein Hartholz hacken oder bestimmte Steine entfernen), die genaue Reihenfolge, in der diese Quests ausgelöst werden, schwankt von Spieler zu Spieler – einige Regionen sind einfach erst erreichbar, wenn Sie ein Upgrade durchgeführt haben. Behandeln Sie die folgende Sequenz also als natürlichen Ablauf und nicht als starre Checkliste: Machen Sie diejenigen, die Sie erreichen können, und die nächste Zwischensequenz findet Sie normalerweise.
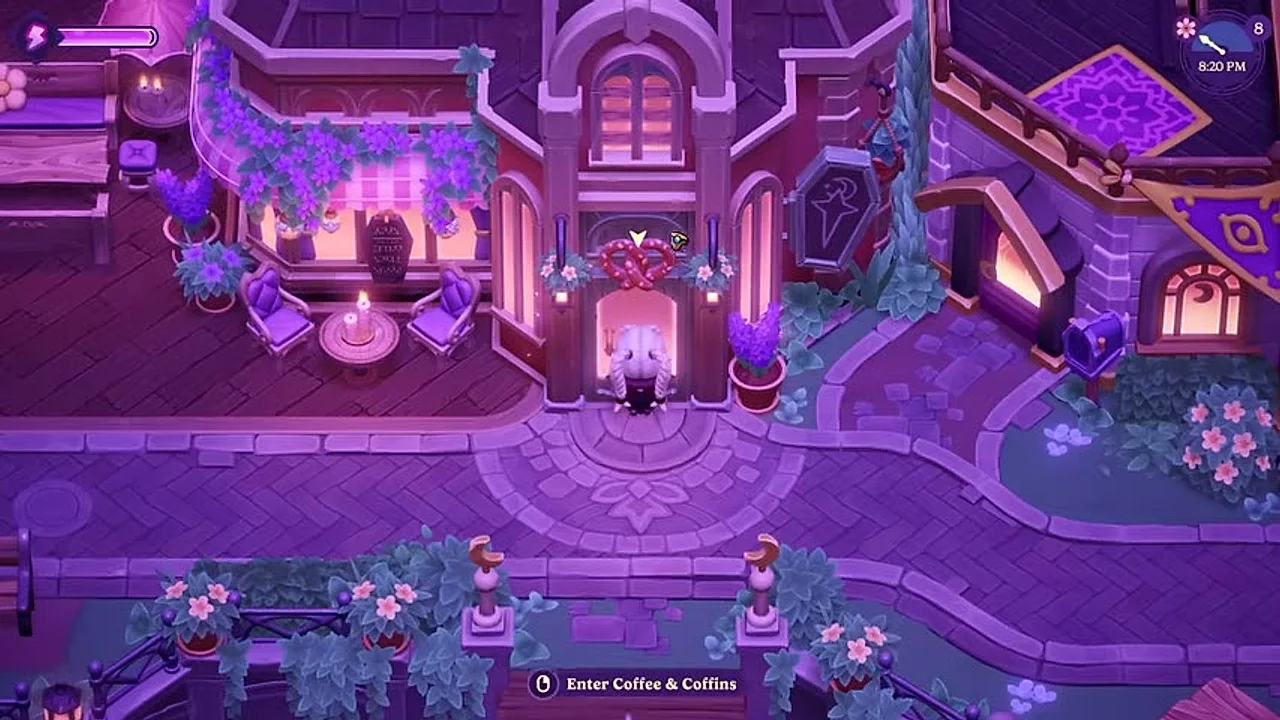
Die Hauptstory-Quests auf einen Blick
| Quest | Was es freischaltet |
|---|---|
| Orlocks Weinprogramm | Werkzeugrad · Baupläne für Fässer, Weinregale und Doppelweinregale |
| Treffen Sie die Stadtbewohner | – (stellt die vier übernatürlichen Gruppen vor) |
| Registrieren Sie sich im Rathaus | – (macht Ihren Wohnsitz offiziell) |
| Ein Dach über dem Kopf | Reparatur der Basis eines Bauernhauses |
| Der erste Schritt zum Komfort | Bauplan für ein Sarg-Katzenbett |
| Nutztiere zum Verkauf | Scheune kann beim Howling Hammer gekauft werden |
| Die Magie der Nutzpflanzen | Zauberwirkung + Aquaflux I · 10 Mondfruchtsamen |
| Die Suche nach Mana | Baut Sabrinas Manaextraktor (benötigt 3 Kupfer + 3 Eisenbarren) |
| Den Fischer ?bertrumpfen | Angeln + die Angelrute · 250 Münzen |
| Spannung in Crest Garden | – (öffnet das Logan-Crest-Rätsel) |
| Ein Krächzen und ein Wappen | – (gewinnt das Logan-Wappen zurück) |
| Eine Brücke zu weit | Ambrosia Estate, Friedhof, Cave of Echoes & Moonlight Tower |
| Die Dinnerparty | Formularrad + Hellkitten-Form |
Orlock’s Wine Scheme – Ihre erste Quest
Orlock ist „dramatisch, verkatert und offenbar nicht daran interessiert, seinen Neffen Samael für Wein zu bezahlen“, also überlässt er Ihnen den Job und eine Handvoll davon Bluttraubensamen. Diese eine Quest ist die gesamte Landwirtschaftsschleife im Kleinformat.
- Finde Viktor irgendwo auf Ihrem Grundstück.
- Stelle ein Fass her.
- Züchten Sie die Bluttrauben, gären Sie sie und liefern Sie Rotwein nach Orlock.
Belohnungen: es öffnet Ihr Werkzeugrad und überreicht Ihnen die Fass, Weinregal und Doppeltes Weinregal Blaupausen – Ihre ersten Verarbeitungs- und Speicher-Upgrades.
Ein paar praktische Hinweise, auf die Spieler in der Vollversion hingewiesen haben: Wein ist einer der Hauptbestandteile des Spiels beste frühe Geldverdiener, aber ein Stapel dauert mehr als zwei Tage im Spiel Um im Fass zu gären, fangen Sie also frühzeitig damit an und lassen Sie es wirken, während Sie alles andere erledigen. Und gehen Sie sparsam mit Holz um – Sie werden versucht sein, ein zweites Fass zu bauen, aber Sie brauchen es auch Holz für Vogelscheuchen (siehe die questübergreifenden Tipps unten) und die Energie geht schnell genug verloren, sodass Sie nicht alles auf einmal erledigen können.
Einleben – die Stadt-und-Heim-Quests
Eine Reihe kürzerer Quests führt Sie nach Moonlight Peaks und repariert Ihr geerbtes Gehöft. Keiner ist hart; Meistens dienen sie dazu, einen Shop oder ein Gesicht vorzustellen.
- Treffen Sie die Stadtbewohner – Orlock drängt Sie dazu, sich den vier Gruppen in der Stadt vorzustellen: den Vampire, Hexen, Werwölfe und Seher. Dies ist Ihre Ausrede, um die nächsten Zwischensequenzen zu erkunden und auszuprobieren. Praktisches Detail: Sobald Sie das Haus von jemandem besucht haben, wird dessen Name erscheint über ihrem Wohnort auf der Karte, sodass sich eine erste Runde durch die Stadt später lohnt.
- Registrieren Sie sich im Rathaus – Brook fordert Sie auf, Ihren Wohnsitz offiziell zu machen. Schauen Sie auf Ihrer Karte nach, wenn Sie die Halle nicht finden können – sie befindet sich im Stadtzentrum.
- Ein Dach über dem Kopf – Ridge, der Zimmermann der Stadt, bietet an, Ihr Dach zu reparieren, sobald Sie sich versammelt haben 50 Holz. In der Praxis beginnt die Reparatur am Morgen des zweiten Tages: Gehen Sie nach draußen und Ridge ist da und erledigt die Arbeit „kostenlos durch Magie“ – der Bau wird innerhalb von etwa einem Tag von selbst abgeschlossen. Gehen Sie raus nächstes Morgen und er gibt dir ein Fass-Bauplan auch. Ridge leitet das Heulender Hammer, wo Sie später Werkzeuge aufrüsten und Gebäude kaufen werden.
- Der erste Schritt zum Komfort – Ihr Hellkitten möchte ein Sarg-Katzenbett. Stelle es her, platziere es und erzähle es dann dem Hellkitten. Sie behalten den Bauplan und haben dabei gelernt, zu basteln und zu dekorieren.
- Nutztiere zum Verkauf – Luna lädt Sie auf ihre Farm ein und führt Sie durch den Kauf eines Scheune. Sobald es gebaut ist, können Sie es kaufen Scheunen selbst bei Ridge’s Heulender Hammer (wo die Scheune neben einem Brunnen, einer Mühle und Ihren Werkzeug-Upgrades steht). Ein Stall ist Ihr Tor zu Hühnern und dem Rest der Viehzuchtkette – sehen Sie sich das an Draculambs & Viehzuchtführer.
Die Magie der Pflanzen – Zauberwirkung freischalten
Das ist das Große: die Quest, die deinen kaputten Stock in einen funktionierenden Zauberstab verwandelt.
- Besuchen Sie Lunas Farm – sie hat „etwas Aufregendes mitzuteilen“.
- Reparieren Sie Ihren Zauberstab bei Web of Wonders – die Hexe Sabrinas Shop, direkt neben Third Eye Threads.
- Zeige Luna den reparierten Zauberstab zurück auf ihrer Farm.
- Bewässere die Mondfrucht noch einmal mit deinen neuen Kräften.
- Kehren Sie am nächsten Tag zu Lunas Farm zurück zum Abschluss.
Belohnungen: Zauberwirkung wird zusammen mit deinem ersten Wasserzauber freigeschaltet, Aquaflux I, plus 10 Mondfruchtsamen. Von hier aus öffnet sich das Spiel wirklich und es führt direkt in die Manakette weiter unten. Web of Wonders ist auch der Ort, an dem Sie später Mana-bezogenes Geld ausgeben: Es lagert Ihr gesamtes Mana Zauber, an arkane Flamme das dein maximales Mana erhöht, und ein Inventaraktualisierung Das ist einer der besten Frühkäufe für die Lebensqualität. Was Sie zuerst lernen sollten, erfahren Sie im Anleitung zu Hexerei und Zaubersprüchen.
Die Suche nach Mana – Bau des Mana-Extraktors
Das Follow-up zu Die Magie der Nutzpflanzen. Sabrina stellt ein Gerät her, um rohe Essenz aus Lunas zu extrahieren Mondfrucht, und sie braucht Sie, um das Metall dafür zu beschaffen.
- Besuchen Sie Web of Wonders um den Auftrag von Sabrina zu erhalten.
- Bring Sabrina die Ressourcen: 3 Kupferbarren und 3 Eisenbarren. Sie haben diese an einem Ofen aus Kupfer und Eisenerz gerochen – der Höhle der Echos (eröffnet von Eine Brücke zu weit) ist eine zuverlässige Erzquelle.
- Kehren Sie am nächsten Tag zu Web of Wonders zurück um das fertige Gerät abzuholen.
Dies ist Ihr Tor zum Manaextraktor, der Farmhelfer, der magische Pflanzen in verwandelt Mana-Essenz zum Zaubern und magischen Basteln. Moonfruit funktioniert, ist aber nur einer der dokumentierten Eingaben; Gobbler, Alraunen und verschiedene Kräutergartenpflanzen verwerten effizienter. Die aktuelle Umrechnungstabelle und was Sie zurückhalten sollten, finden Sie unter Mana und Zauber.
Den Fischer ?bertrumpfen – Schalten Sie das Angeln frei
Noel – der „gerne schreit“ – lädt Sie zu einem Angelwettbewerb ein: fangen Sie drei verschiedene Fischarten, dann Bericht erstatten. Gewinnen schaltet Angeln und die Angelrute frei, zahlt aus 250 Münzenund, was noch wichtiger ist, Prahlerei über Noel. In verschiedenen Bereichen gibt es unterschiedliche Fische. Sobald Sie also die Rute haben, werden die Fische gefangen Angel- und Futtersuchführer beschreibt, wo und wann gecastet werden soll.
Eine Brücke zu weit – Erreichen des Ambrosia-Anwesens
Dies ist die herausragende frühe Hauptquest und die, bei der die meisten Leute hängen bleiben – also hier ist das Ganze, einschließlich der Anleitung, wie man es kostenlos macht.
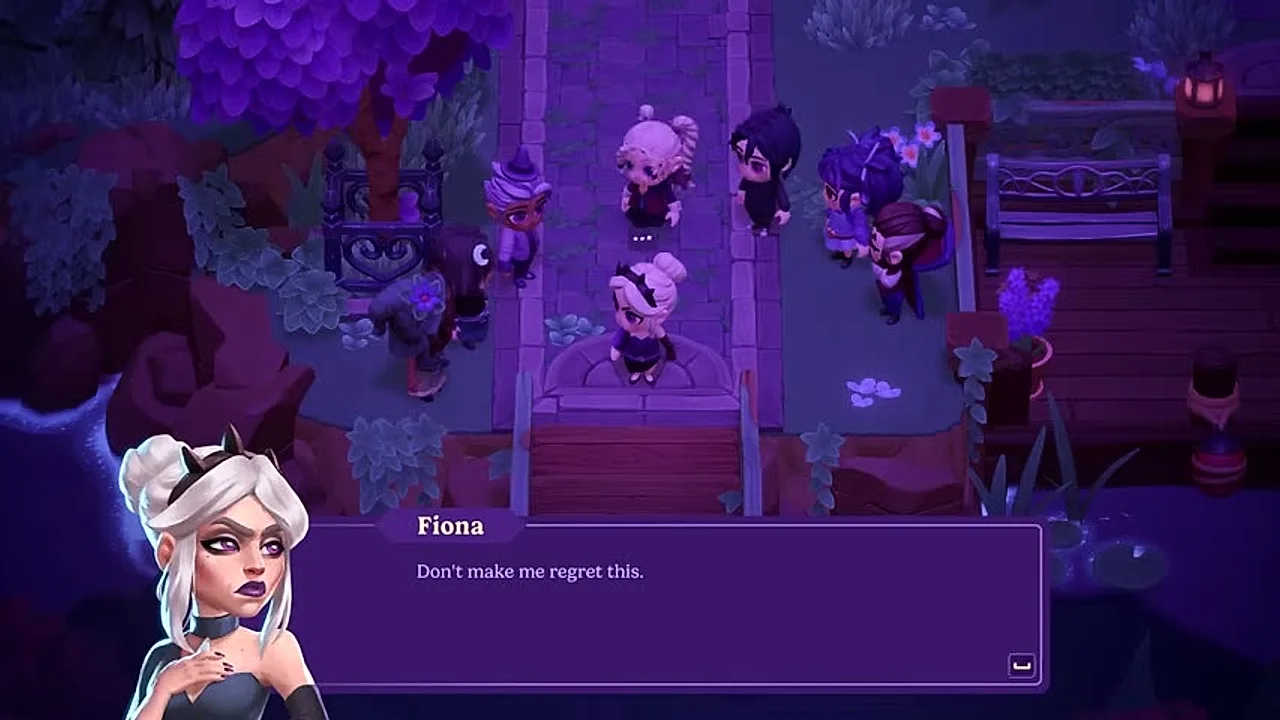
Es beginnt im Wald mit Fiona, die platinhaarige Hexe. Sprich mit ihr und du erfährst, dass sie verhext ist Orlocks Brücke Mit Absicht: An der Bar erzählte er einen geschmacklosen Witz, in dem er sie als „bitter“ bezeichnete, und sie möchte, dass er ihm eine Lektion erteilt. Der Haken ist, dass Orlocks Kinder Evan und Mina wohnen auf der anderen Seite der Brücke – ebenso wie der Friedhof –, sodass die ganze Familie jetzt gestrandet ist.
Hier ist der Lauf:
- Gehen Sie vom Wald in Richtung Stadt und Sie werden in eine Zwischensequenz hineingezogen, in der Orlock an seiner verfluchten Brücke tobt, während Evan und Mina von ihm verlangen, sie zu reparieren. Er weigert sich, sich zu entschuldigen und stürmt davon.
- Folge ihm zur Broken Lamp Bar. Sprechen Sie mit ihm über die Entschuldigung. Er stimmt zu – unter einer Bedingung: bezahlen Sie seine Barrechnung.
- Der Tab beträgt 350 Münzen, und Samael, der Barkeeper, sagt Ihnen offen, dass Sie nicht darauf hereinfallen sollen. Bezahlen Sie es nicht selbst. Direkt nach dieser Zwischensequenz, Gehen Sie zu Mina und sprechen Sie mit ihr über Orlocks Rechnung – sie gibt Ihnen die 350 Münzen. Dann Gehen Sie zur Anwaltschaft zurück und begleichen Sie die Schulden. Nettokosten: nichts.
- Warte etwa zwei Tage im Spiel. Mina taucht eines Morgens vor deinem Haus auf, um zu sagen, dass ihr Vater endlich bereit ist, und schickt dich dorthin Fionas Haus (in mondbeschienenen Kiefern).
- Nehmen Sie an der Entschuldigung teil. Orlock zögert, entschuldigt sich und gibt zuerst Fiona die Schuld, hustet aber schließlich widerwillig ein „Vielleicht war mein harmloser Witz unklug.“ Fiona akzeptiert – und gibt dann zu, dass sie eigentlich nicht weiß, wie Aufzug der Fluch.
- Versammle den Zirkel. Sie werden auf die Suche geschickt Noel, Sabrina und Luna und bitten Sie jeden um Hilfe. Lauf durch die Stadt, sprich mit allen dreien und sie werden dich an der Brücke treffen.
- Gehe zur verfluchten Brücke. Eine letzte Zwischensequenz wird abgespielt, die vier heben gemeinsam das Hex hoch, die Brücke wird freigeräumt und Sie erzielen einen Erfolg.
Belohnungen: Durch das Abschließen wird ein großer Teil der Karte geöffnet – der Anwesen Ambrosia, die Ambrosia-Friedhof, die Höhle der Echos und die Mondscheinturm. Auf der anderen Seite befindet sich ein neues Biom mit frischen Futtermitteln, am Strand versteckten Bauplänen und einem zweiten Yabbis Verkäufer, der verschiedene Waren verkauft. (Das Haus des Todes ist auch hier, aber es bleibt bis später in der Geschichte verschlossen.)
Der Handlungsstrang der Logan-Familie – Spannung in Crest Garden & Ein Quaken und ein Wappen
Zwei miteinander verbundene Quests entführen Sie in das Geschäft der Werwölfe Logans, und sie sind pur Moonlight Peaks Screwball-Drama.
Spannung in Crest Garden beginnt am Tag nach der Brücke, als Ludo Sie in die Stadt schleppt und sagt: „Möchten Sie etwas Lustiges sehen?“ Brook und Orlock streiten sich erneut – dieses Mal wegen der Vermissten Logan Crest, das Erkennungsmarken-Erbstück der Familie, das ihr Erbe symbolisiert. Brook ist sicher, dass Orlock es gestohlen hat; Orlock besteht darauf, dass Brook einfach die Fassung verloren hat. Beschämt möchte Saga gehen, bleibt aber, um Ihnen bei den Ermittlungen zu helfen.
- Gehe zum Crest Garden, nur zum links vom Rathaus (ein neu freigeschalteter Bereich).
- Die Crew teilt sich auf, um sich umzuhören: Saga übernimmt die Hexen, Ludo die Ambrosias, und Sie übernehmen die Seher – Ihr Protokoll sagt es Ihnen also Sprich mit Alina, Aras und Dragan. (Aras sitzt normalerweise auf seiner Bank.) Niemand hat es gesehen, aber Dragan spricht in Rätseln und willigt ein, mitzukommen.
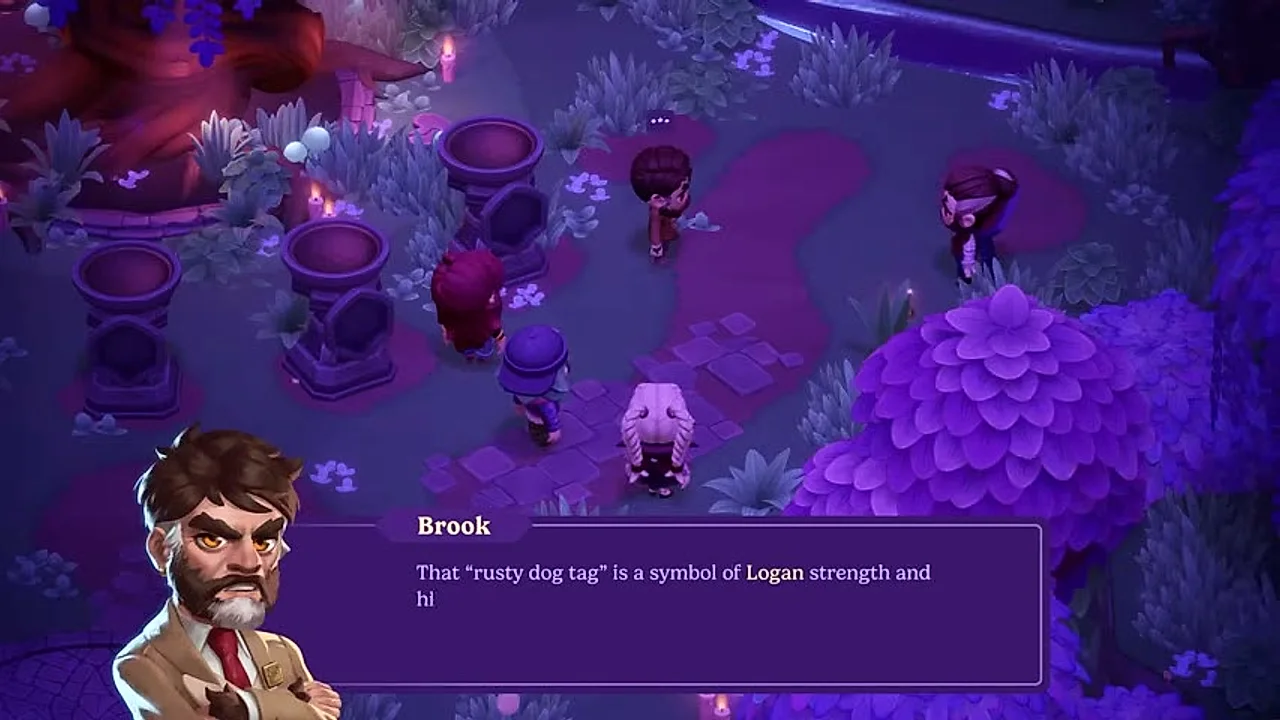
- Gruppieren Sie sich bei der kaputten Lampe neu. Dort hat Dragan eine Vision – „Der Kamm verweilt dort, wo Wasser erinnert und Schatten tanzen“ – was übersetzt bedeutet Heulende Sümpfe.
- Ludo möchte sich auf den freien Abend vorbereiten, also bittet Saga Sie darum Treffen Sie sie am nächsten Morgen in den Heulenden Sümpfen, was zur Folgequest führt.
Ein Krächzen und ein Wappen löst es mit einem sehr markentypischen Problem: Ludo tauschte das Wappen gegen eine Kröte namens Yabbis, der es verschluckt hat. Um es zurückzubekommen:
- Treffen Sie Ludo in den Heulenden Sümpfen.
- Bauen Sie 4 Kupfererz ab im Höhle der Echos (geöffnet durch die Brückenquest oben).
- Einen Kupferbarren geschmolzen und bring es zum kleinen Teich Mondbeschienene Kiefern.
- Kehre zum Crest Garden zurück um es zu schließen.
Die Dinnerparty – Gestaltwandlungsformen freischalten
Sie sind zu einem friedensstiftenden Abendessen zwischen den Ambrosias und den Logans eingeladen – zwei Familien, „die sich einen Tisch teilen und eine Geschichte magischer Pannen haben“. Was könnte schief gehen? Fassen Sie die Gästeliste zusammen:
- Laden Sie Elvira, Samael, Mina, Evan und Ridge ein.
- Nehmen Sie am Abendessen im Ambrosia Mansion teil.
Belohnungen: Der Abend schaltet die frei Formularrad und Ihre erste Transformation, die Hellkitten-Formular – bearbeitet den Boden mit weniger Energie und bewegt sich schneller. Wenn man bedenkt, wie viel von dem Spiel den Leuten zugänglich gemacht wird, ist es einen Blick wert. Mehr im Gestaltwandlungsanleitung.
Tipps, die für die gesamte Hauptgeschichte gelten
Die Startversion ist etwas weniger nachsichtig als die Demo und ein paar Gewohnheiten sorgen dafür, dass die Questkette reibungslos verläuft:
- Bewachen Sie Ihre Ernte mit einer Vogelscheuche. Neu in der Vollversion: Krähen fressen ungeschützte Pflanzen. Halten Sie eine Vogelscheuche bereit, die jede bepflanzte Fläche abdeckt – und denken Sie daran, dass sie mit Fässern um Ihr Frühholz konkurriert.
- Achten Sie auf Ihre Energie – sie geht schnell verloren. Das Fällen eines einzelnen Baumes kostet am Anfang über 20 Energie, also überlasten Sie Ihre Nacht nicht. Das günstigste Frühauffüllen im Freien ist das Kochen Bluttraubensaft aus der kaputten Lampe – 130 Münzen für 40 Ausdauer. (Auch Bier, das dort verkauft wird, ist ein nahezu allseits beliebtes Geschenk.)
- Budget für Werkzeug-Upgrades. Starterwerkzeuge können kein Hartholz hacken oder einige Steine wegräumen, und mehrere Kartenbereiche – möglicherweise einschließlich der Heulenden Sümpfe – bleiben blockiert, bis Sie beim Heulenden Hammer ein Upgrade durchführen. Upgrades sind teuer, und genau deshalb ist das Weineinkommen schon früh wichtig.
- Verwenden Sie das Beziehungsmenü, um Geschenke zu verfolgen. Es zeigt, was Sie jedem Bewohner bereits gegeben haben: a funkeln markiert ein „Gefällt mir“-Geschenk, a Herz ein geliebter Mensch. Blumen sind in den meisten Teilen der Stadt eine sichere Sache – sehen Sie sich die an Geschenke- und Freundschaftsführer.
Wohin als nächstes gehen?
Die Hauptgeschichte ist Ihre beste To-Do-Liste im frühen Spiel – sie gibt Ihnen nacheinander Werkzeuge, Magie, Angeln und Formen, sodass die Jagd nach der nächsten Zwischensequenz normalerweise besser ist als das Abwühlen der Farm isoliert. Kombinieren Sie dies speziell für die Eröffnungsabende mit unserem Komplettlösung für die erste Woche; Sobald die Stadt geöffnet ist, wird die Liebesführer beschreibt, wen Sie umwerben können und wie.
Ein Hinweis zur Beschaffung: Die Hauptquestreihe wird nach dem Start von den Spielern dokumentiert und hier mit dem Community-Wiki abgeglichen. Das Spiel enthüllt Quests, wenn Sie Zwischensequenzen auslösen, anstatt sie im Voraus aufzulisten, sodass spätere Handlungsabschnitte (Bogen des Todes hinter dem Friedhof und Quests hinter abgesperrten Bereichen) möglicherweise noch erweitert werden – dies deckt die bestätigte frühe bis mittlere Hauptkette ab.